WARNING: This product contains nicotine. Nicotine is an addictive chemical.

Views: 0 Author: Site Editor Publish Time: 2026-05-12 Origin: Site


A leaking All-In-One (AIO) vape wastes valuable e-liquid, risks short-circuiting your battery, and creates a highly frustrating user experience. You reach out for a quick, relaxing draw, only to end up with fingers covered in sticky, messy juice. The reality check here might surprise you. Most "leaks" are not actually hardware defects. They are highly manageable breaches in the device's internal vacuum seal. Sometimes they happen due to simple mismatches in liquid viscosity. Ignoring these early warning signs can permanently ruin sensitive internal electronics. This post provides a targeted, symptom-based troubleshooting sequence to stop immediate leakage efficiently. You will discover practical preventative maintenance routines to keep your daily setup running flawlessly. Finally, we establish a clear framework for deciding when to repair an aging AIO versus transitioning to highly sealed, modern alternatives on the market today.
Diagnosis is Step One: Differentiate between "flooding" (liquid in the mouthpiece) and true "leaking" (liquid escaping from airflow vents).
The Vacuum Rule: AIO tanks rely on internal negative pressure; overfilling or failing to prime correctly breaks this seal.
Technique Matters: Aggressive drawing and continuous chain-vaping overwhelm the coil's vaporization rate, causing liquid bypass.
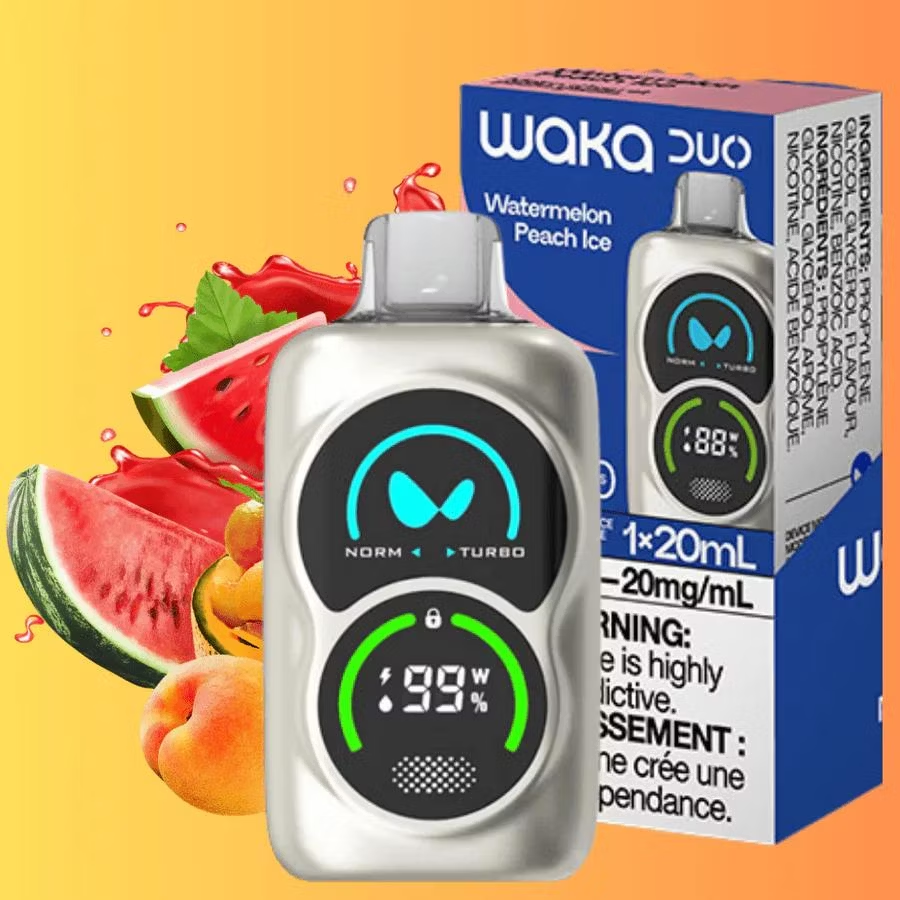
Hardware Lifespan: Persistent leaking often signals degraded O-rings, cracked pods, or the need to evaluate inherently leak-resistant setups like top-airflow systems or premium Disposable Vaping Devices.
You must properly diagnose the physical behavior of your device before applying a fix. Misdiagnosing a flood as a leak leads to endless frustration. These two issues stem from entirely different mechanical failures inside the chamber.
Symptom Diagnosis Chart: Flooding vs. Leaking | ||
Issue Type | Primary Indicators | Root Cause Mechanism |
|---|---|---|
Internal Flooding | Gurgling sounds, hot spit-back ("liqueflash"), diminished vapor production. | Oversaturation. E-liquid breaches the coil faster than the heat can vaporize it. |
Physical Leaking | Continuous seeping from bottom vents, sticky USB ports, wet seams. | Loss of containment. A broken vacuum seal, structural micro-cracks, or failed O-rings. |
Internal flooding happens when your wicking material absorbs too much e-liquid. The heating element becomes completely submerged. When you press the fire button, the coil boils the liquid instead of vaporizing it cleanly. You will often hear a distinct gurgling sound. Vapor production drops significantly. You might also experience "liqueflash," where the device spits hot, unvaporized liquid directly into your mouth. This issue occurs because e-liquid enters the coil much faster than the device wattage can handle.
Physical leaking is a structural or pressure failure. You will notice e-liquid seeping continuously from the bottom airflow holes. Liquid might pool around the USB charging ports or leak from the device seams. Gravity pulls the juice downward because the tank can no longer hold it in suspension. A compromised vacuum seal usually causes this. Physical micro-cracks in the plastic pod housing also cause true leaking. Furthermore, degraded internal O-rings lose their ability to block fluid over time.
You can halt an active leak by following a strict sequence of actions. This protocol resets the internal pressure and clears obstructions. Follow these four steps sequentially to restore normal function.
Clear the Oversaturated Coil
Re-establish the Vacuum Seal
Adjust Power and Draw Ratios
Manage Condensation Build-Up
You must remove the trapped excess liquid from the central chimney. First, remove the pod or tank from the main battery base. Place a folded paper towel securely over the bottom airflow vents. Blow gently but firmly through the mouthpiece. This action forces any flooded liquid out through the bottom holes directly into the paper towel. Wipe the exterior clean. Never rinse the coil under tap water. Water ruins the cotton wick permanently.
The device depends entirely on a vacuum seal to suspend liquid against gravity. Clean the battery base completely to remove residual juice. Reassemble your device. You now need to recreate negative pressure inside the chamber. Take three or four strong "dry pulls." To do this, inhale sharply through the mouthpiece without pressing the fire button. This specific action draws out trapped air bubbles. It effectively re-establishes the necessary surface tension to hold the liquid back.
Incorrect power settings directly cause coil flooding. If you use a variable wattage AIO, check your coil's recommended operating range. Increase the power slightly to match the mid-range recommendation. Higher wattage ensures efficient vaporization of the incoming liquid. Next, evaluate your inhalation technique. Shift away from sharp, quick pulls. Instead, take steady, gentle inhales. Sharp pulls act like a straw, sucking liquid forcefully into the core. Finally, allow 10 to 15 seconds between hits. The wicking material needs this time to re-absorb liquid properly without overflowing.
Many users mistake simple condensation for a major hardware leak. Vapor travels up the central chimney during every puff. If you stop inhaling while vapor remains in the tube, it cools down quickly. The vapor condenses back into liquid droplets. These droplets slide down and pool at the base. You can prevent this easily. Release the fire button a split-second before you finish inhaling. This technique clears all remaining vapor from the central chimney entirely.
Frequent leaks indicate a deeper mismatch between your hardware, your environment, and your daily habits. Understanding these underlying triggers helps you stop leaks before they start.
E-liquid thickness plays a massive role in hardware performance. Viscosity relies heavily on your Propylene Glycol (PG) and Vegetable Glycerin (VG) ratio. Thin liquids flow quickly. Thick liquids flow slowly.
E-Liquid Viscosity Quick-Reference | |||
PG/VG Ratio | Liquid Thickness | Ideal Hardware | Leak Risk in High-Wattage AIOs |
|---|---|---|---|
50/50 PG/VG | Very Thin (Watery) | Low-power Pod Systems | Extremely High (Guarantees Seepage) |
30/70 PG/VG | Thick (Syrupy) | Sub-ohm AIO Coils | Low (Proper Balance) |
Using a 50/50 PG/VG liquid in a high-wattage, sub-ohm AIO coil guarantees immediate seepage. The large wicking ports simply cannot hold back thin liquids. Furthermore, environmental factors alter viscosity dynamically. Leaving your device in a hot car thins the liquid drastically. Extreme heat turns thick VG into a watery consistency. Altitude changes also wreck the vacuum seal. Flights or mountain driving cause significant pressure equalization. The expanding air inside the tank forces liquid aggressively out through the airflow slots.
Refilling seems straightforward, yet small mistakes destroy the tank's physics. Overfilling acts as the primary culprit. You must maintain an essential "air gap" at the top of the tank. This tiny pocket of air creates the vacuum suspension. Filling the liquid to the absolute brim eliminates this gap entirely. Without the air pocket, gravity takes over instantly. Additionally, failure to close airflow valves during refilling removes the physical barrier holding the liquid back. Always shut bottom airflow rings before opening the top fill port.
Your choice of flavor impacts hardware integrity over time. Certain aggressive flavor profiles react chemically with plastics. You should watch out for the following abrasive profiles:
Heavy citrus blends (lemon, lime, grapefruit).
Strong menthol or pure ice additives.
Cinnamon and heavy baking spices.
These specific ingredients gradually degrade polycarbonate plastic pods. The chemical reaction causes microscopic stress fractures. You might not see these cracks initially. However, they silently destroy the airtight environment required for leak-free operation.
A persistently leaking device drains your wallet and your patience. You must objectively weigh the ongoing hassle against the benefits of upgrading your hardware.
You spend more money fighting a broken device than you realize. Factor in the recurring cost of replacing flooded coils prematurely. Coils degrade much faster when they sit submerged in boiling liquid. Consider the volume of wasted e-liquid. Severe leakers often waste upward of 15ml a month just through seepage and paper towel blow-outs. Furthermore, internal liquid leaks threaten battery safety. E-liquid corrodes battery contacts and fries internal microchips. If liquid breaches the motherboard, the entire device becomes a hazardous paperweight.
You cannot fix warped hardware with paper towels. You reach the degradation threshold when standard maintenance fails completely. Replace the O-rings and clean the base thoroughly. Monitor the device for two days. If the seals fail to hold for more than 48 hours, the pod housing tolerances have warped. Plastic expands and contracts through daily heating cycles. Once the pod loses its original factory shape, no amount of troubleshooting will stop the seepage.
Sometimes, refillable systems require too much daily micromanagement. For users experiencing high failure rates with refillable AIOs, modern Disposable Vaping Devices offer a highly pragmatic, leak-proof alternative. Their completely closed-system architecture eliminates user-driven vacuum breaches. You never have to worry about refilling errors. Because the system comes sealed from the factory, the internal pressure remains perfect until depletion. You bypass coil degradation issues entirely. Transitioning to these reliable setups saves time and removes the frustrating variables of manual maintenance.
If you decide to purchase a new device, you must look for specific design features. Modern engineering has largely solved the leakage problem. Use these specific criteria when evaluating your next hardware upgrade.
Top-Airflow Architecture: Prioritize models featuring top-placed airflow vents. Gravity naturally pulls liquid down. Top-airflow designs force the air to travel down and back up again. This U-shaped pathway prevents liquid from traveling upward and escaping. It minimizes daily mess significantly.
Push-Fit Coil Systems: Older devices use threaded coils. Threaded designs are notoriously prone to cross-threading. Users also overtighten them constantly. Overtightening shreds the delicate silicone O-rings. Push-fit, plug-and-play coils offer standardized, secure sealing. You simply press them in until they click, ensuring perfect alignment every single time.
Transparent Clearomizers: Blind refilling destroys the internal air gap. Opt for devices utilizing completely clear liquid windows. Transparent materials prevent accidental overfilling. They allow accurate, real-time monitoring of your liquid levels. You can visually confirm the mandatory air gap exists before closing the fill port.
A leaking AIO is fundamentally a physics problem. You resolve it by respecting the device's internal vacuum seal and operating within its intended physical limits. Matching your liquid thickness to the coil requirements prevents massive oversaturation. Mastering steady draw techniques stops liquid bypass entirely.
As a next step, implement the 4-step immediate fix protocol the next time you spot a leak. Clear the coil, re-establish negative pressure, and adjust your wattage. If your hardware continues to fail despite flawless technique, evaluate the long-term costs of upkeep. Consider upgrading your setup to a top-airflow system. Alternatively, transition to high-quality, pre-sealed disposable alternatives. These modern options guarantee consistent performance and eliminate the messy guesswork from your daily routine.
A: Cabin pressure changes disrupt the tank's internal vacuum. The expanding air forces e-liquid out through the airflow holes. To prevent this, empty your tank completely before flying. Alternatively, store the device upside down in a sealed bag so air escapes instead of liquid.
A: Yes. Cranking a threaded coil too tightly can pinch, warp, or snap the delicate silicone O-rings. These O-rings maintain the airtight liquid seal. Always tighten the coil until it feels just securely snug, not forcefully locked.
A: If left unused, thick oils settle and clog the airflow pathways. Users often pull aggressively to clear the blockage. This aggressive pull floods the chamber once the oil finally warms up. Gently warm the device in your hands to restore liquid flow before inhaling softly.
A: A microscopic layer of condensation is entirely normal in AIO pod systems due to cooling vapor. However, if the liquid is actively pooling or dripping onto the battery contacts, it indicates a structural leak or oversaturated wicking material requiring immediate cleaning.


